

Products are selected by our editors, we may earn commission from links on this page.

When a zipper closes and then splits open behind the slider, the instinct is to blame the track. The wikiHow repair guide credited to costume designer Chloée Ohayon-Crosby points the other way. The slider is a wedge that forces two rows of teeth into each other, and that wedge is stamped from soft metal. After enough cycles the open end of it spreads. A spread slider still travels the track, it just stops squeezing hard enough to lock the teeth. That single diagnosis is what makes the repair possible at home. Nothing has broken. A part has lost its shape, and shape can be restored with pliers.
This article was created with the assistance of AI and reviewed by our editorial team for accuracy and clarity.
Compare both ends of the slider first
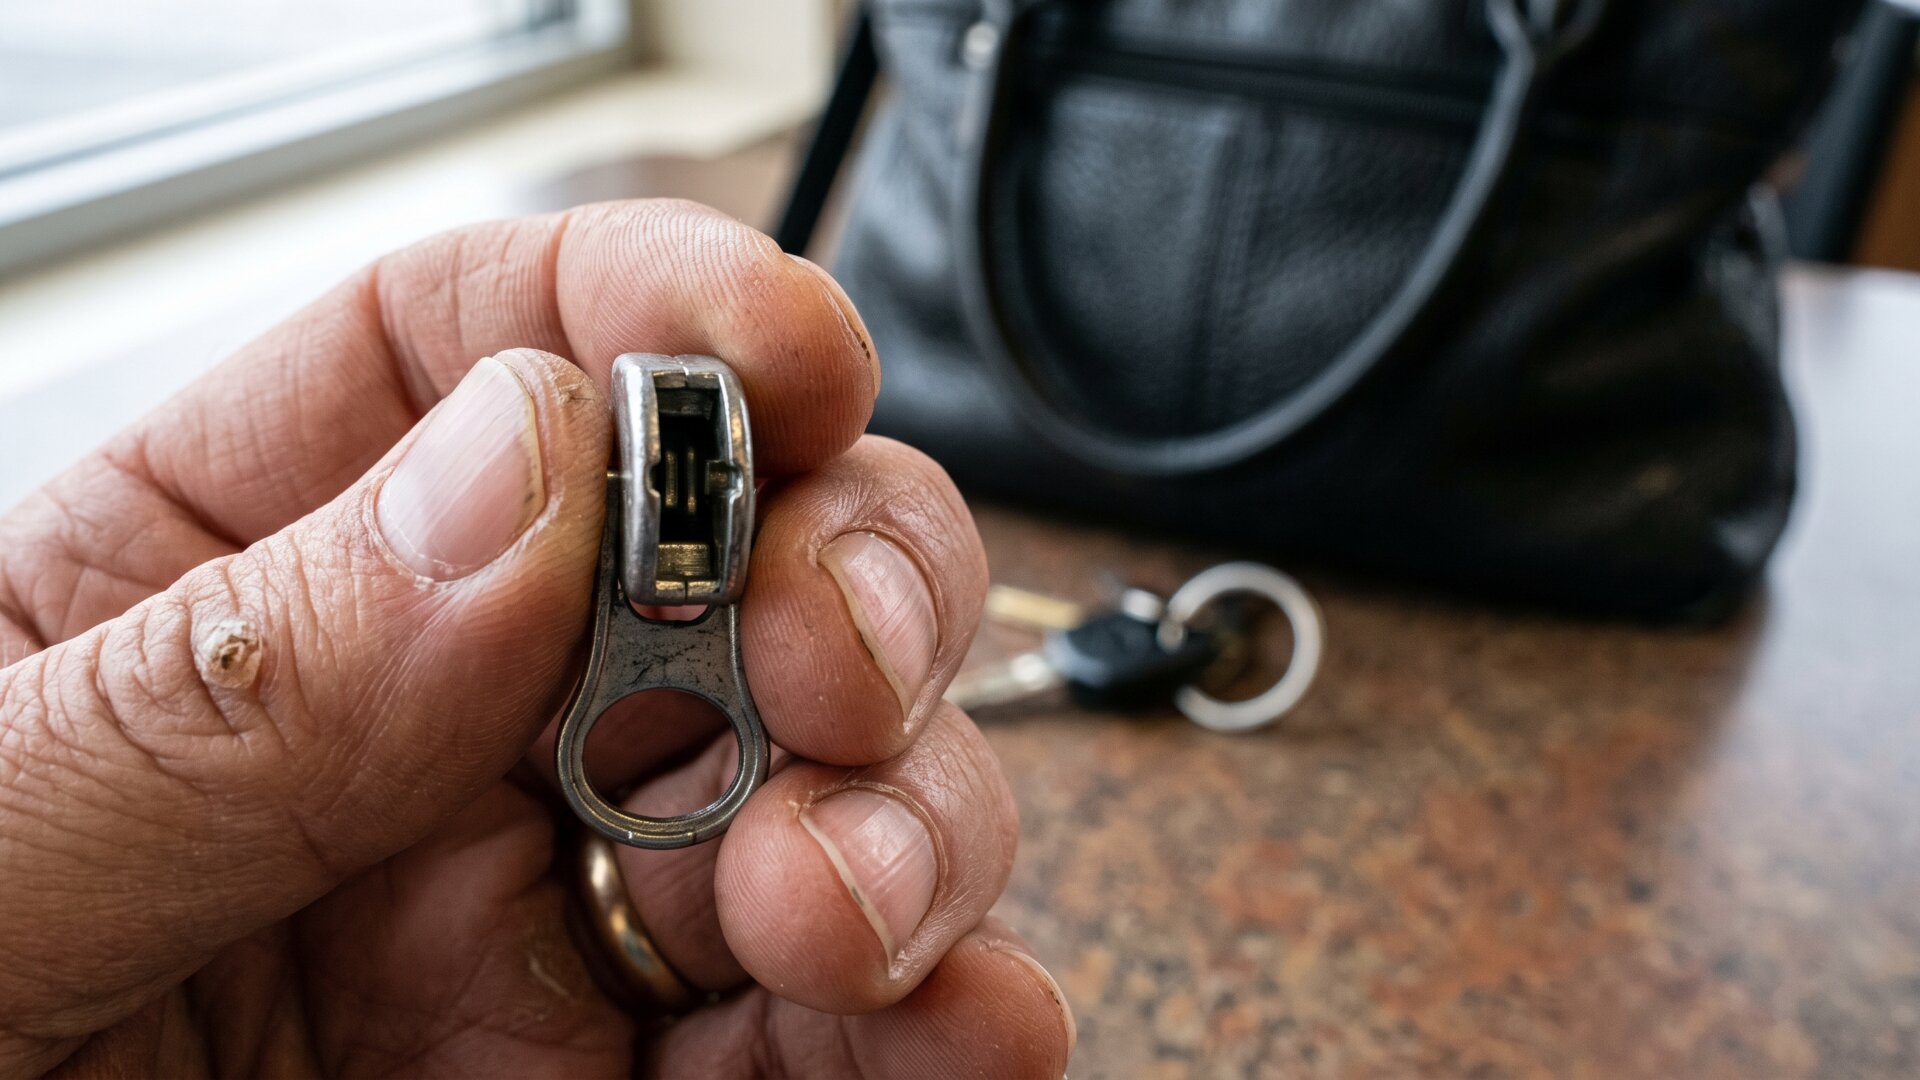
Before touching anything, look at the slider end-on. It has a mouth at each end, and the two mouths should measure the same. The guide’s first instruction is to inspect both and decide whether one has opened wider than the other. A visible difference is the confirmation that the slider has stretched. The geometry explains the symptom exactly. A wider mouth means less pressure on the tracks passing through it, so the teeth enter the slider and leave it without ever interlocking. Bags and purses show this first, because a handbag zipper gets opened and closed far more often than a jacket does.
Judson, Sundback and the wedge inside
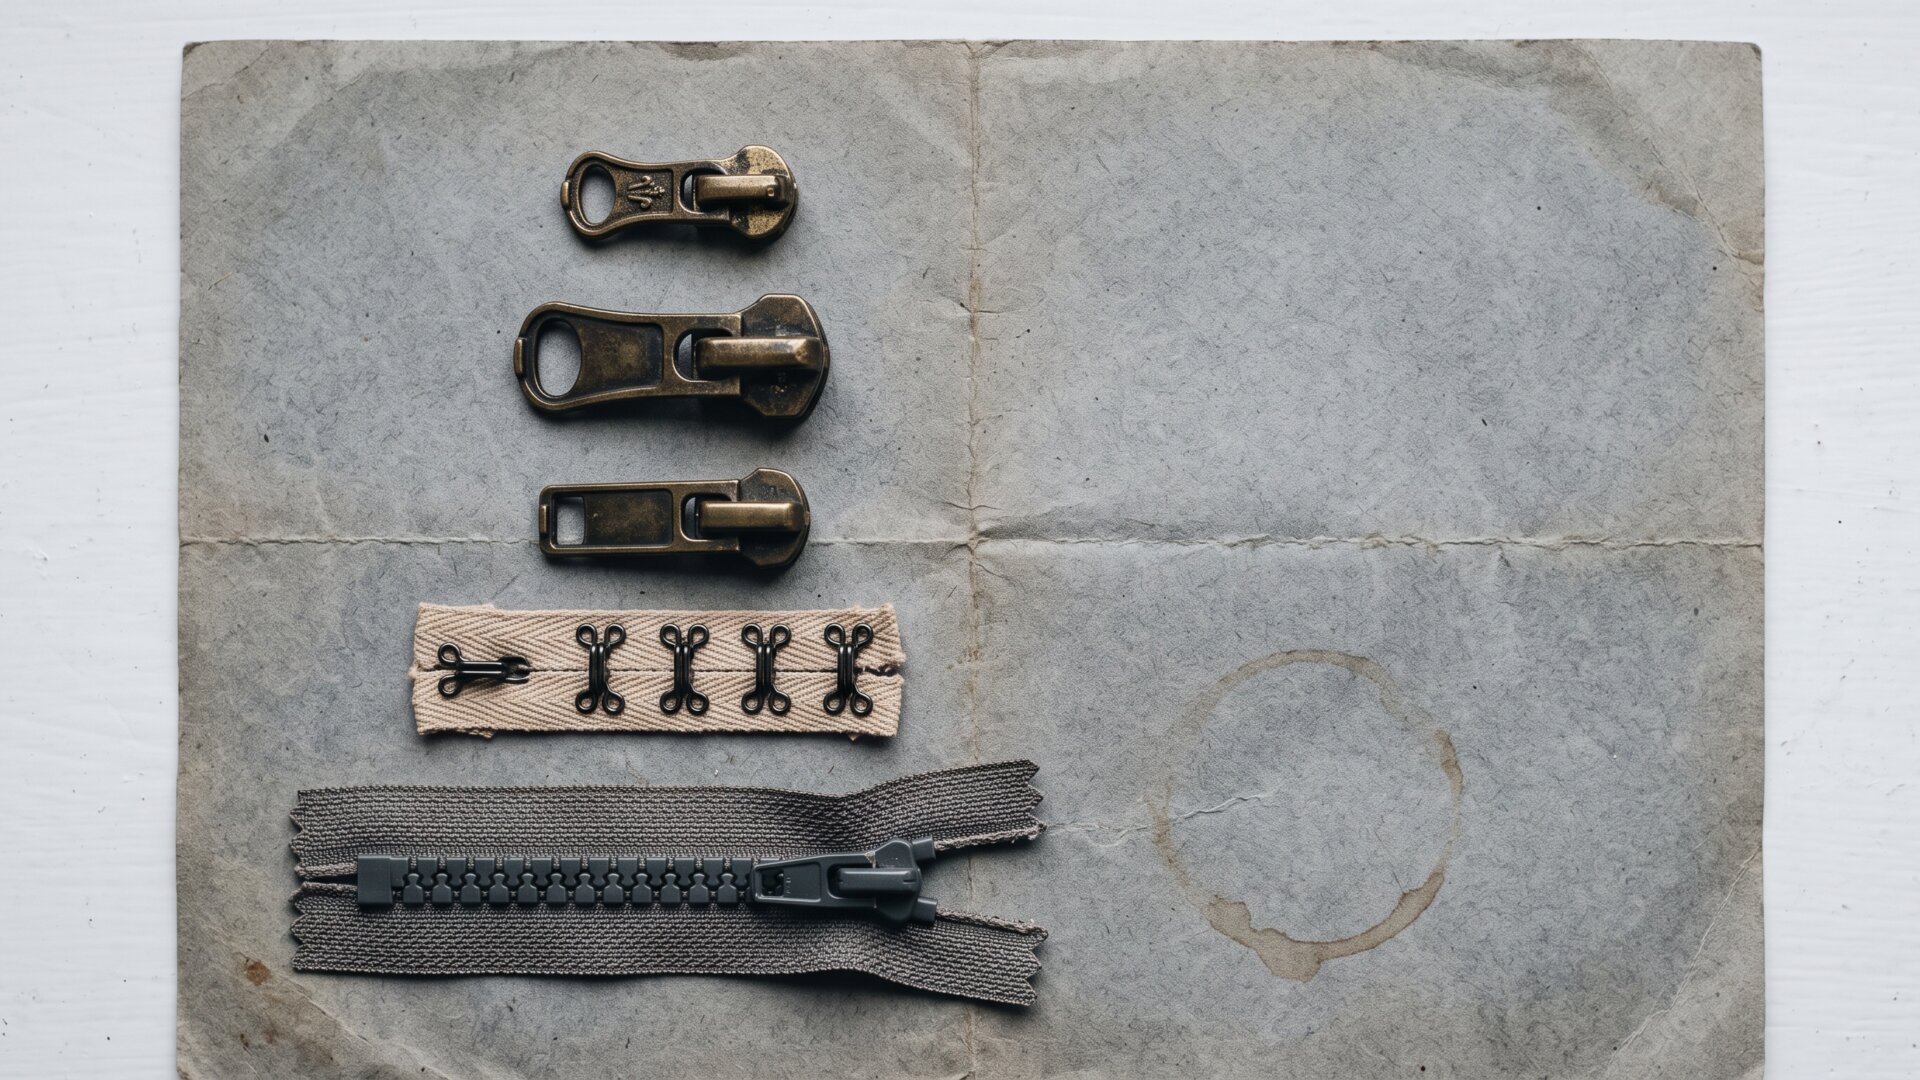
Whitcomb Judson patented a clasp locker in 1893 and showed it at the 1893 World’s Columbian Exposition in Chicago. It worked badly. Gideon Sundback, an engineer at the Hookless Fastener Company, filed the design that actually succeeded in 1913, replacing hooks with the cupped-and-dimpled tooth still used today. Sundback’s real contribution sits inside the slider. Two Y-shaped channels meet around a central divider, so one path going in becomes two paths coming out, and vice versa. Pulling the slider one way wedges the teeth together. Pulling it the other way splits them apart. Every repair in this story is an attempt to restore that wedge’s original dimensions.
Squeeze the open end, and only the open end
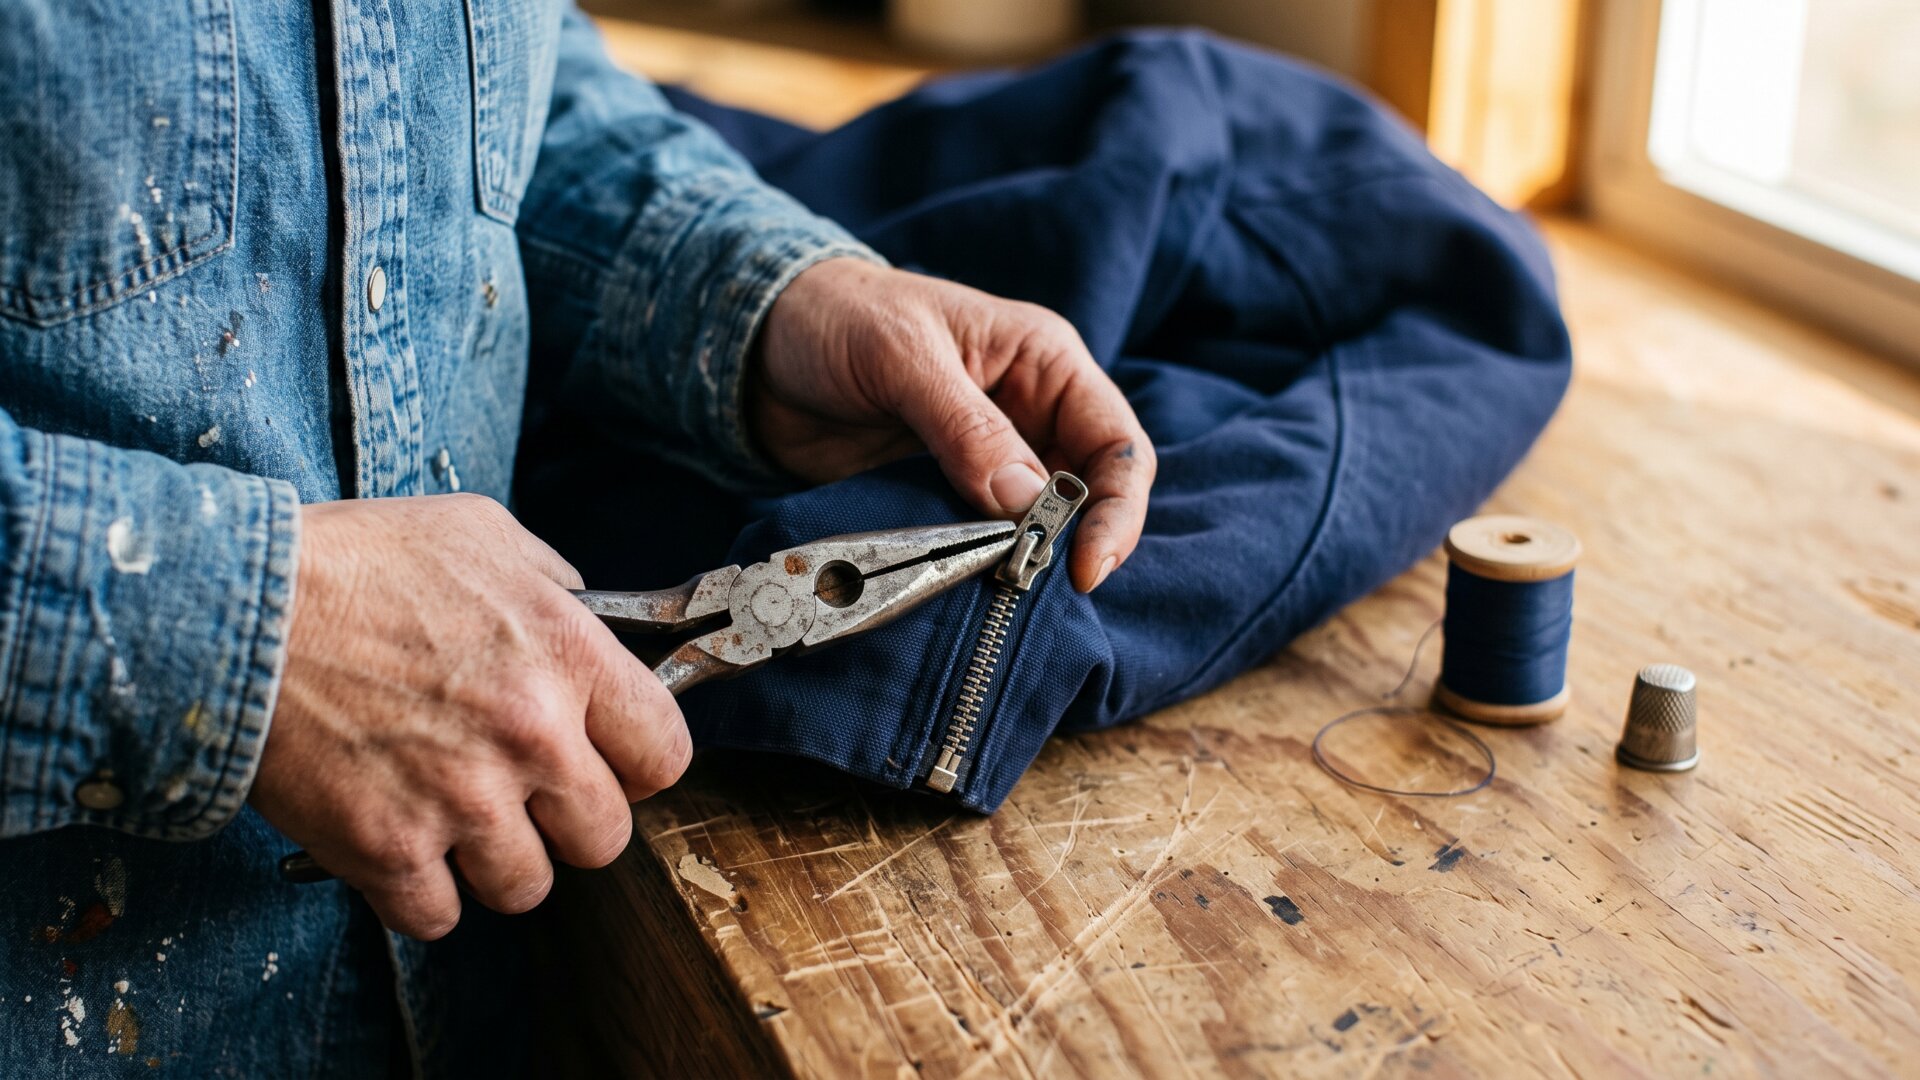
Grip the slider between the jaws of a pair of pliers, top face and bottom face, and press. The guide is specific about which end: one end of the slider has a divider between the two channels and cannot be compressed, the other does not. That open end is the one that has spread and the one that gets squeezed. Pressure matters more than most people expect. The movement needed is small, well under a millimeter. Overdo it and the slider binds, which the guide flags as its own symptom: if the slider becomes hard to drag along the tracks afterwards, the gap has been closed too far.
Run it the full length before deciding

After reshaping, the test is not a short tug. Run the slider the whole length of the zipper and back. A correctly reset slider closes the teeth immediately, with no section that opens again a few inches behind it. A zipper that fails only on one stretch of the track usually has a second problem, and the guide covers that too. Bent teeth will separate a zipper even with a perfect slider. Metal teeth can be straightened with pliers. Plastic teeth cannot, and the guide warns that pliers will snap them off the tape. Straighten plastic with fingers only. Torn tape near the teeth has to be stitched before anything else will hold.
Metal stops open, plastic stops do not
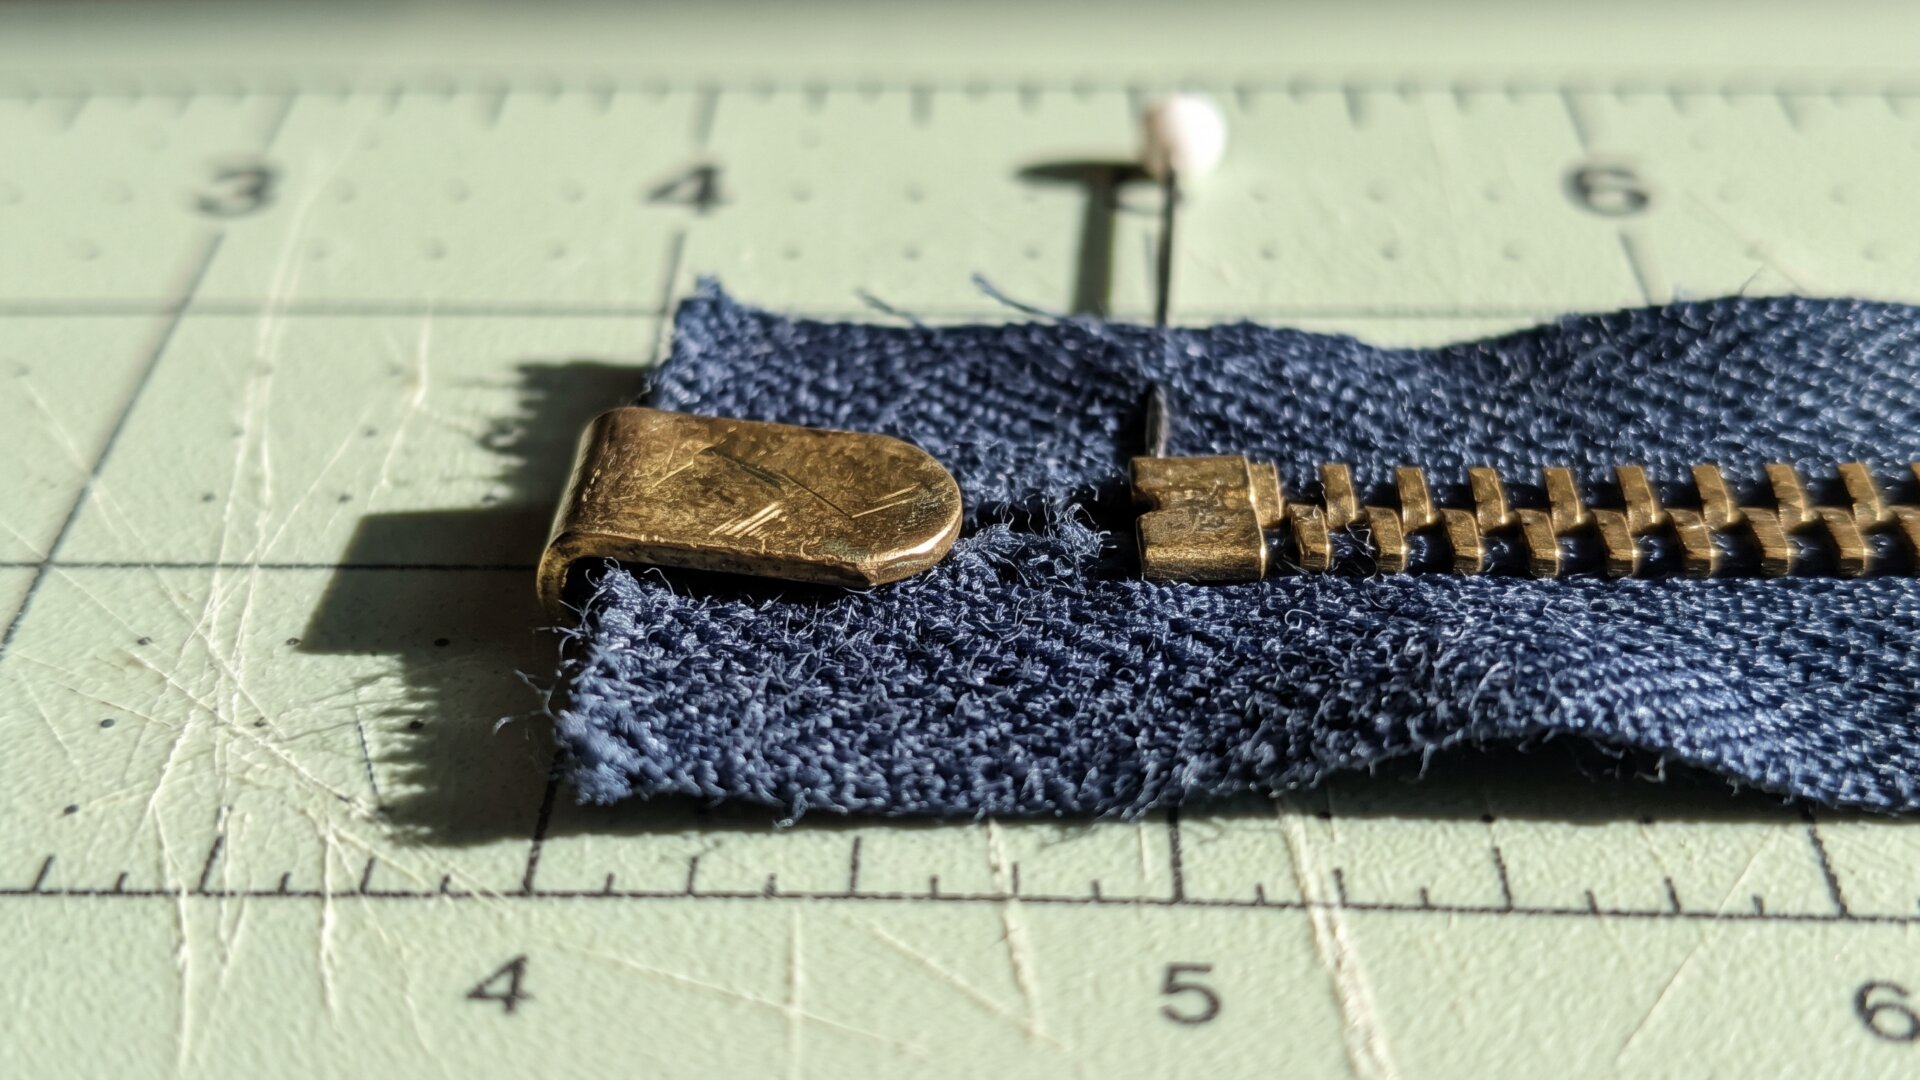
When squeezing fails, the second method begins by removing the slider entirely, and that is only possible on some zippers. At the top of each tape sits a stop, a small piece slightly larger than a tooth that prevents the slider from running off the end. The guide’s gate is simple. Metal stops can come off and go back on. Plastic stops break when disturbed. Check before committing. A metal stop is shaped like a letter U, clamped around the woven tape. A plastic stop is usually moulded in one piece with the same material as the teeth. If it is plastic, stop here and go back to reshaping the slider.
Open the stop, do not cut it
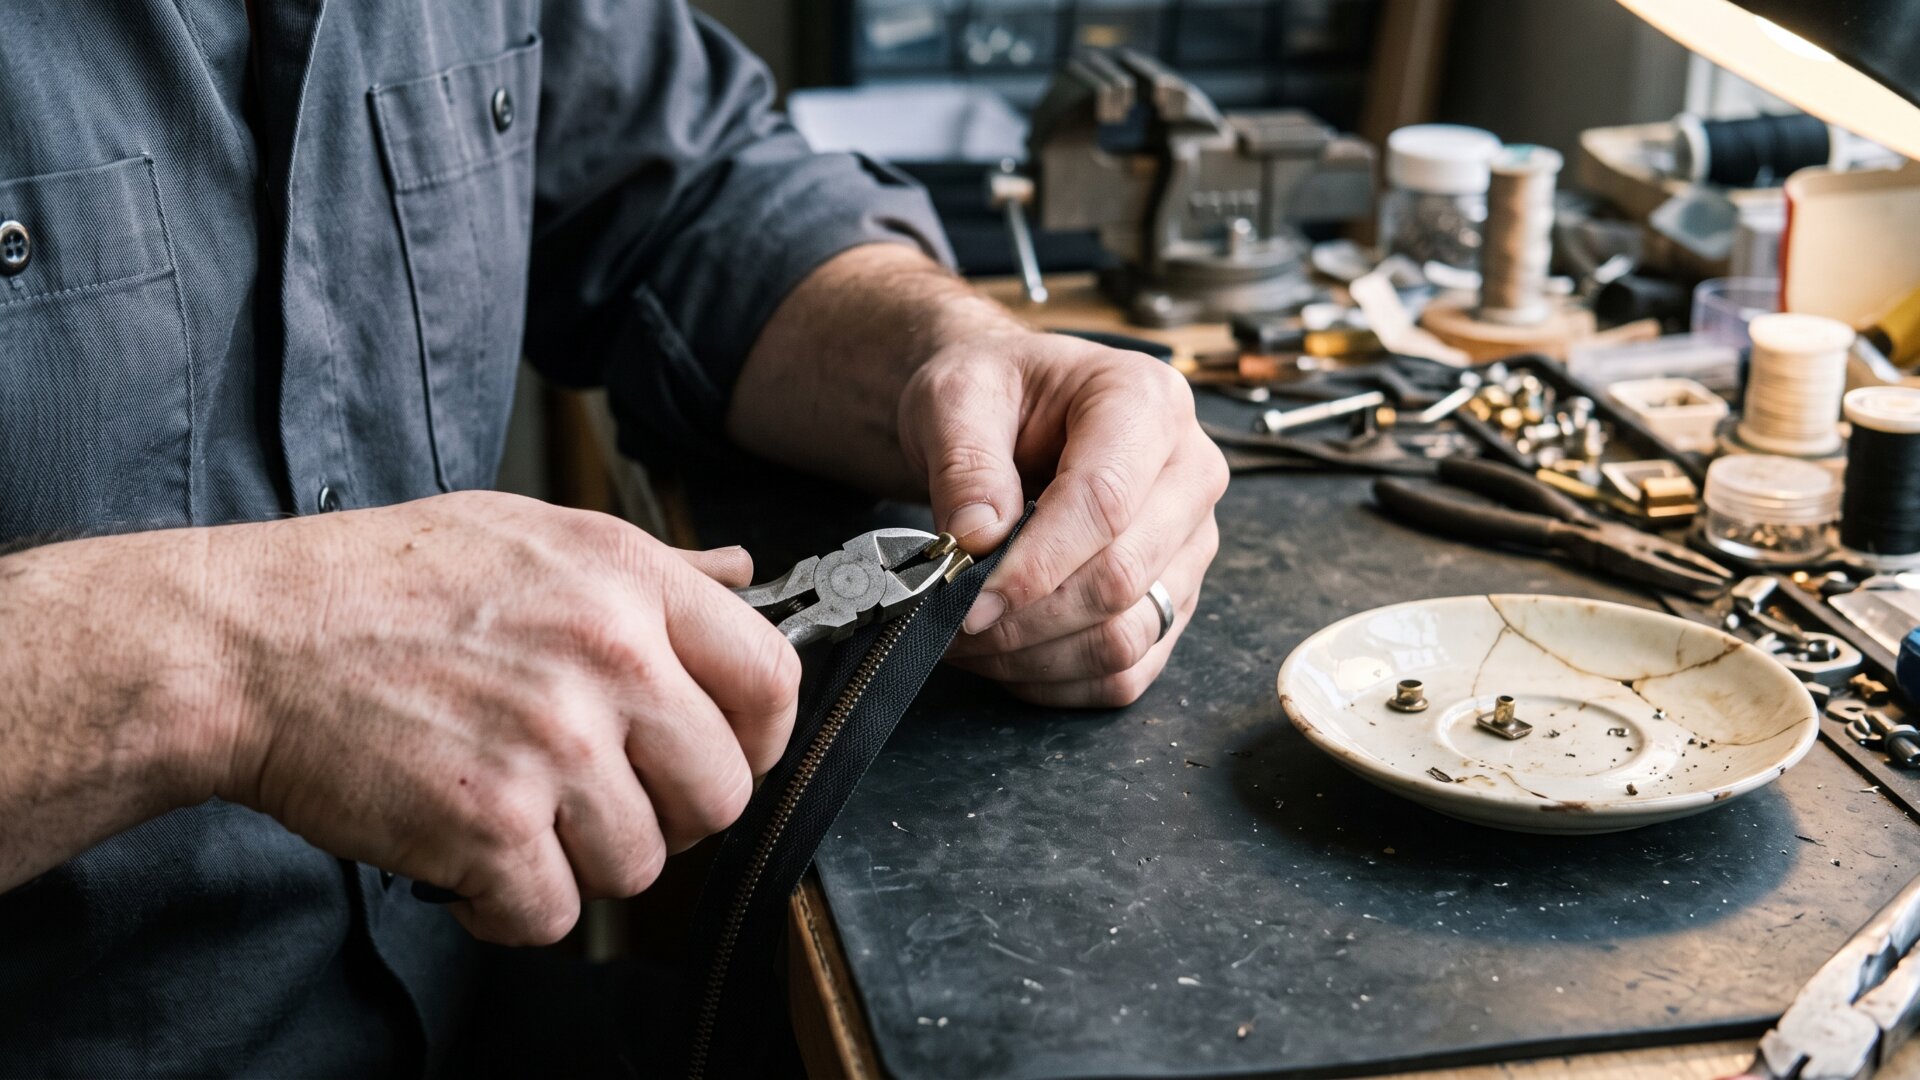
The most common failure in this repair is destroying the part you need to reuse. Small-tipped pliers, or pointed wire cutters used as pliers rather than as cutters, open the U just far enough to unhook one arm from the tape. Wiggle it free from there. Bending it until it snaps ends the repair. So does cutting it. The guide says to keep both stops and put them somewhere safe, which is worth taking literally, because a stop is a few millimetres of metal and it will not be found again on a carpet. With both stops off, the slider lifts straight up and off the ends of the tracks.
Rebuild the track from the bottom up
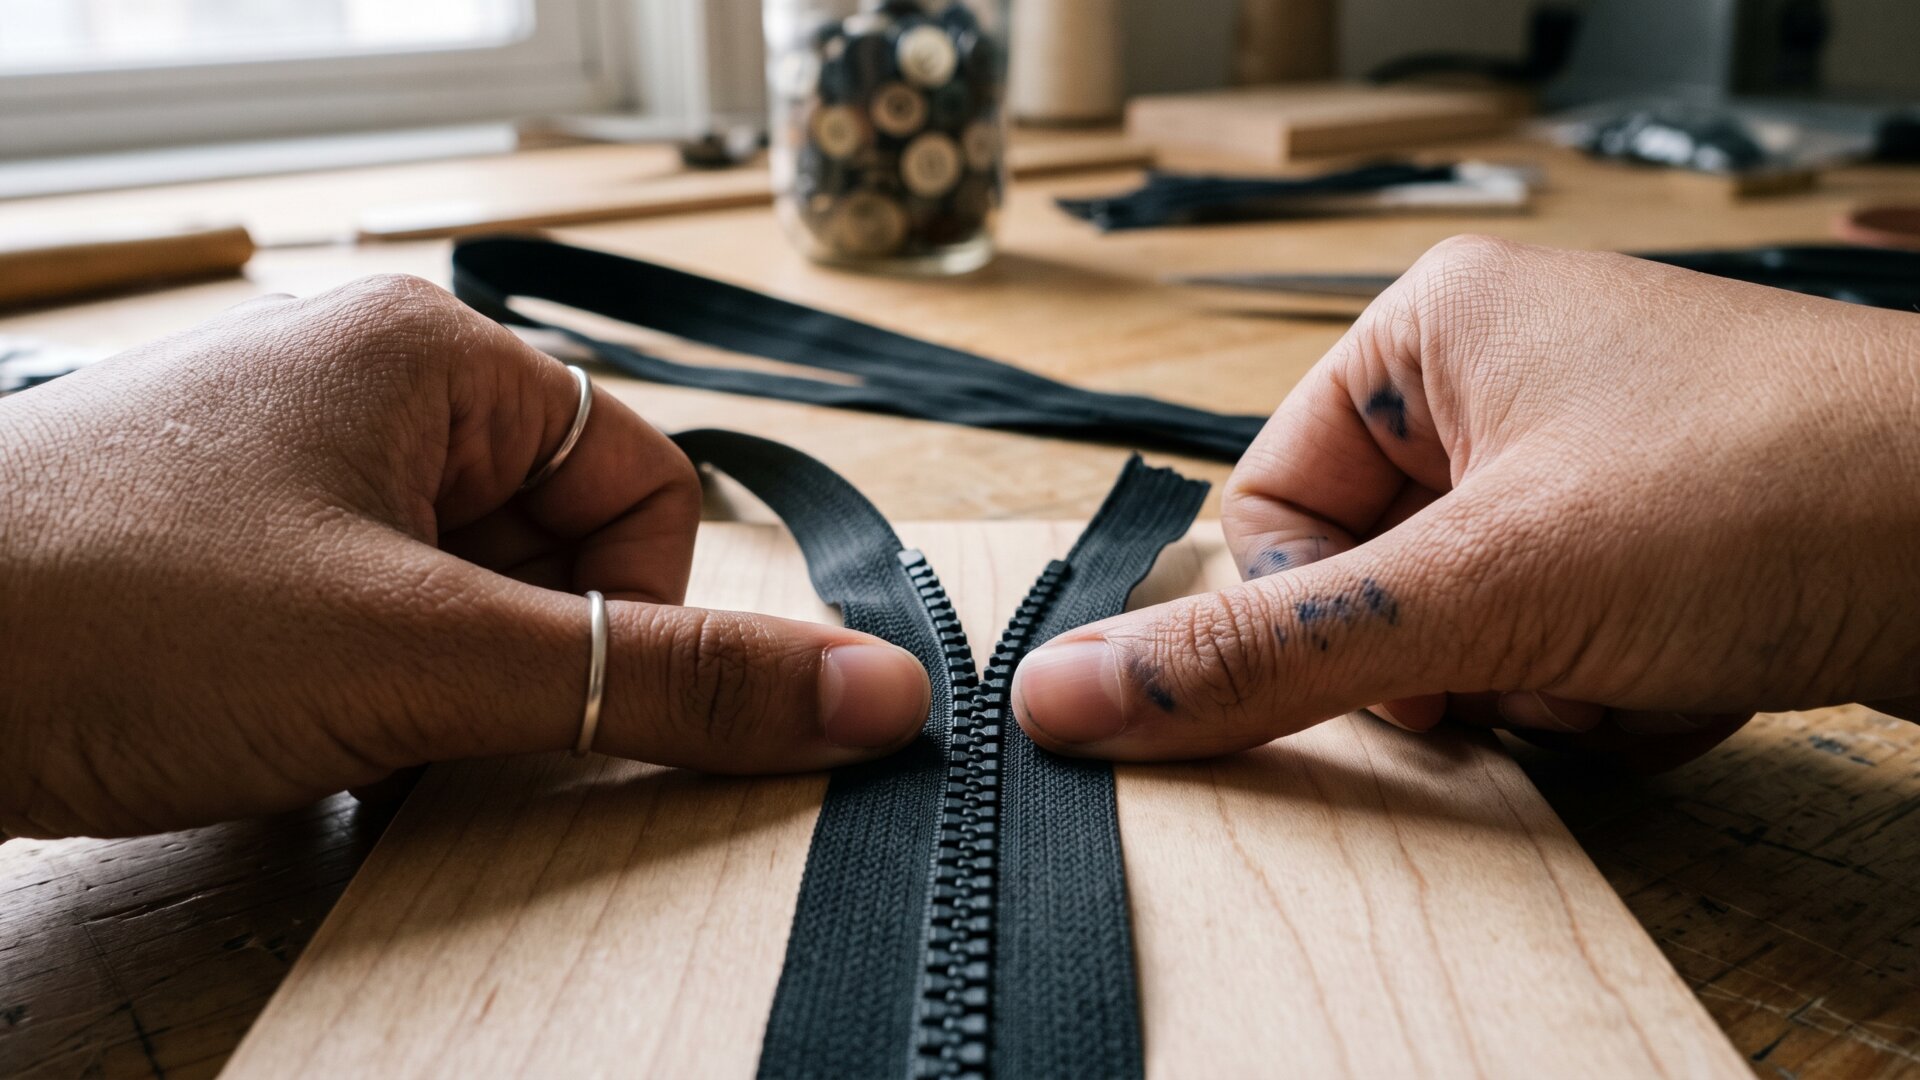
With the slider gone, the two rows of teeth get pressed back into each other by hand, starting at the bottom closed end and working upward. Lay the zipper on a hard surface and press down so each tooth pops into its seat, alternating left and right. The error check comes at the top. If one side ends with teeth left over, the rows are off by one and the whole length has to be redone. Nothing about a one-tooth offset is visible mid-track, which is why the count at the top is the only reliable test. Get it right and the two sides end level.
One track at a time into the slider
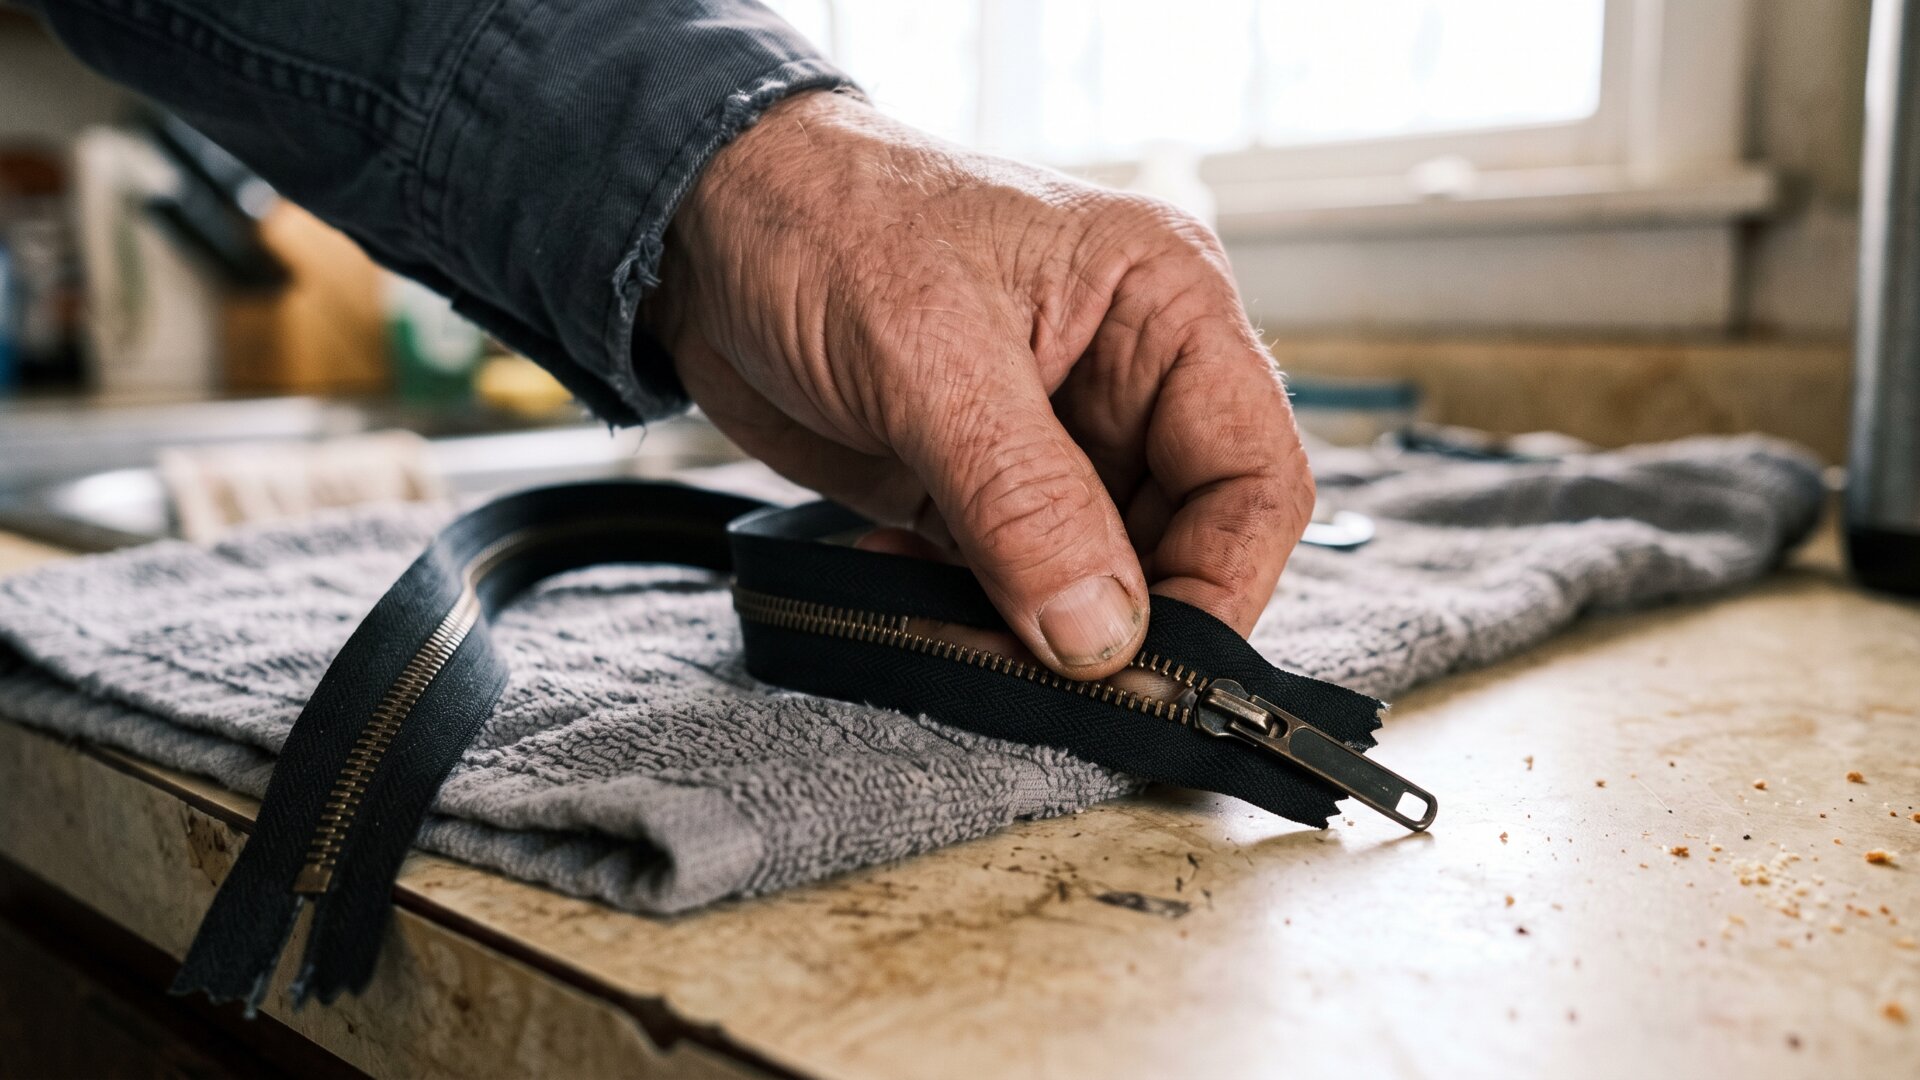
Reinserting the slider defeats most people because they try to feed both tracks in together. The guide is explicit that this rarely works. Insert one track into the open end, the end without the central divider, and push until several teeth have travelled up inside and the track will go no further. Then do the second. Pull the slider down a few inches to confirm it is tracking, and move it up and down over a short run. Do not take it back to the top yet. With no stops fitted, the slider will come off the ends again and the whole alignment job starts over.
The stops go back where they were
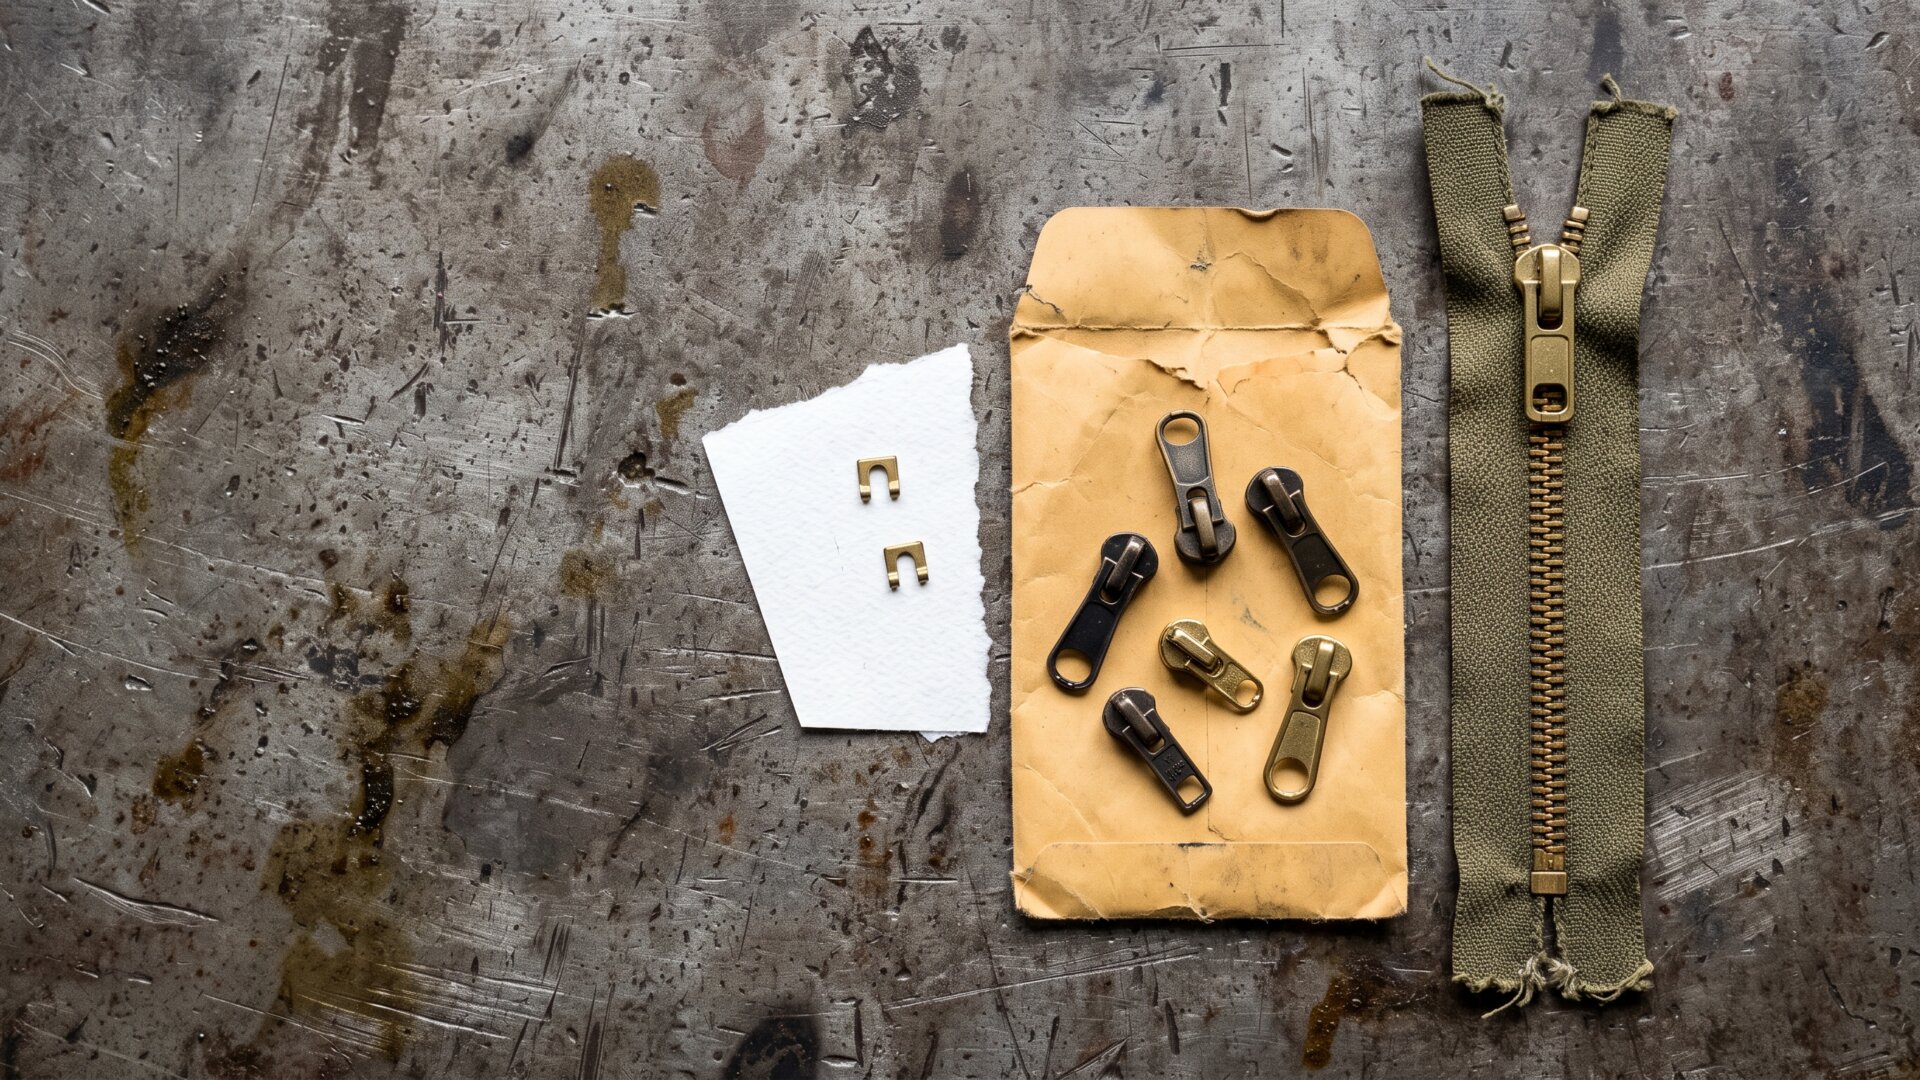
The repair closes by clamping each stop back onto the tape in its original position, squeezing the ends shut with pliers until it grips, then wiggling it to confirm it holds. The marks left in the tape show where each one sat. Reseating them anywhere lower shortens the zipper’s travel. Some sliders are past this. YKK, which makes roughly half the world’s zippers from its plant in Macon, Georgia, sells sliders as replacement parts for exactly that reason. If reshaping only holds for a day or two, the metal is fatigued and a new slider fitted by the same method is the fix. Match the number stamped on the old slider’s body.